Recently, I went to visit my daughter who was teaching art to young children on location at The Wild Ramp in Huntington. It is located in the antiques district and I thought I would stroll along the stores. I always find the storefronts to be so interesting, filled with things from days gone by. I made my way into one where the windows were just overrun with neat stuff. I have since misplaced the receipt and a search of the name associated with the credit card purchase (Village Renew All) is not enough to locate the store online. When I find the receipt I will update this blog.
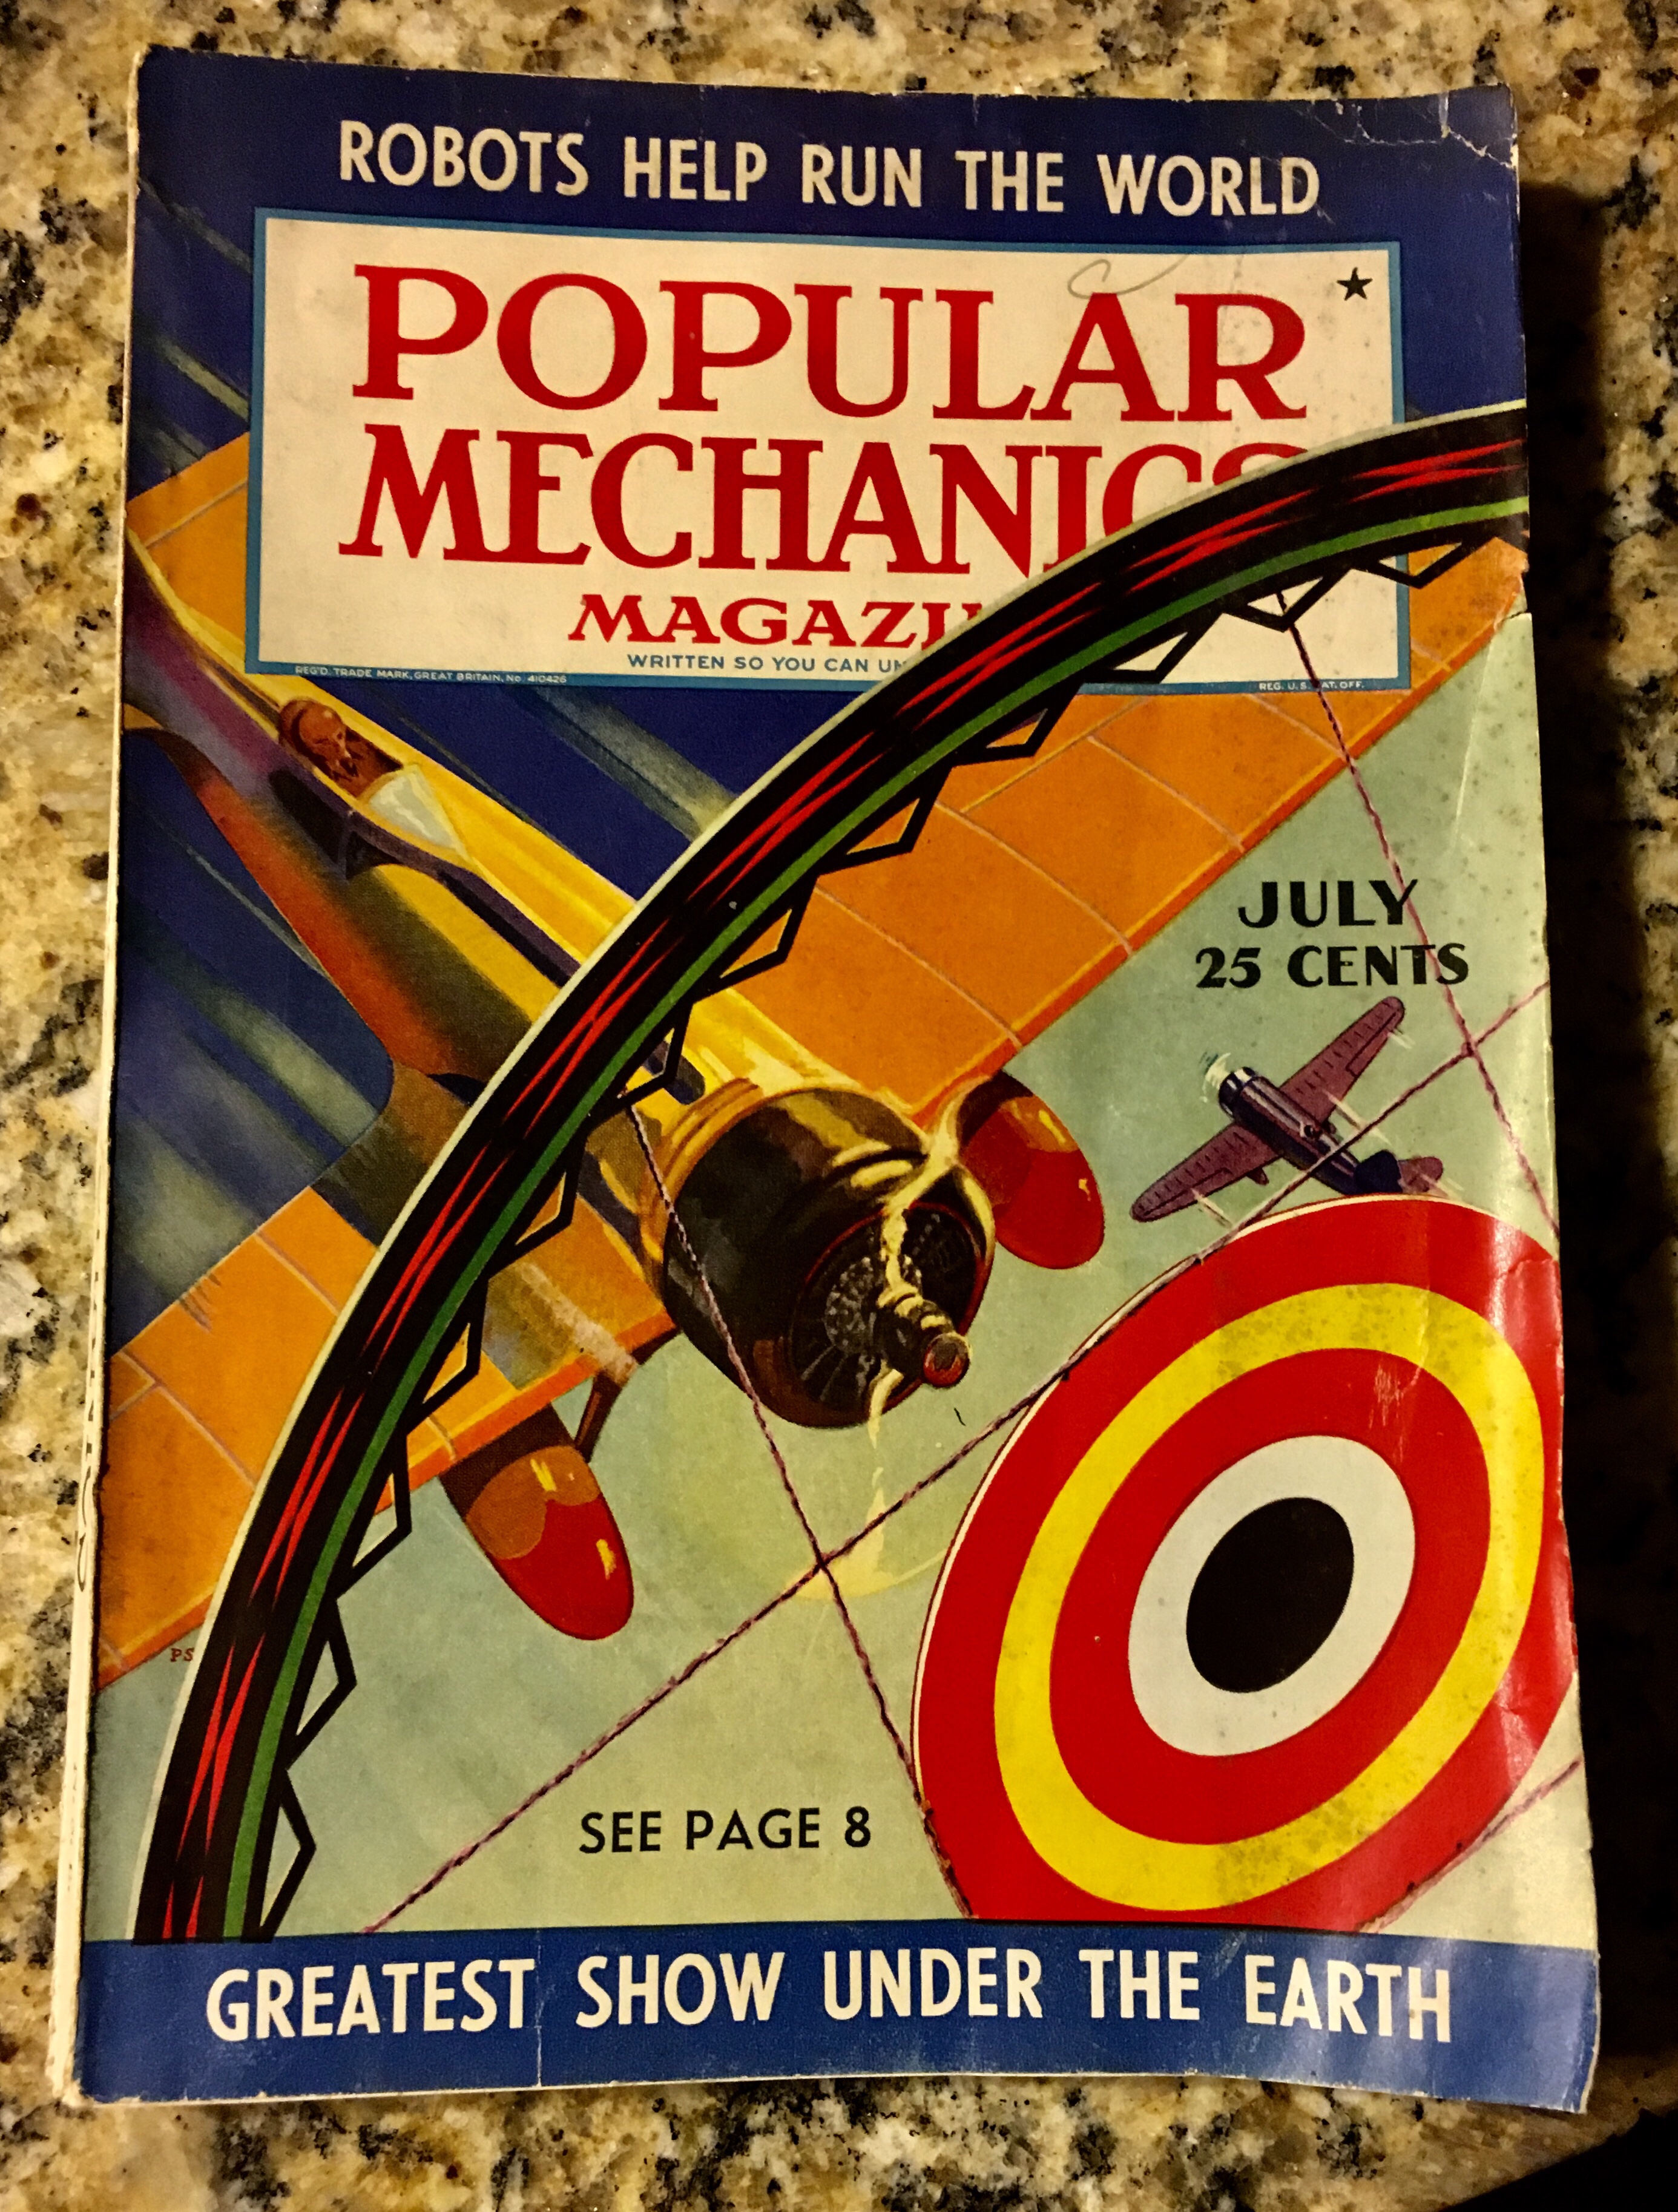
I worked my way through the shop, stopping to look at toys from the 70’s and then to marvel of WWII items. This is a consignment shop where multiple people co-op the facility and pay a fee for every item sold. As I was almost out the door, a movie poster caught my eye and I made my way over to rows of boxes that were marked magazine pages. In those sections I found some amazing aviation pieces that I picked up for Husband. Framed, magazine pages with air advertisements can be a great gift for plane enthusiasts. Looking over my shoulder I realized I missed a tight row of toys and magazines. At the end of the row were stacks of old Popular Mechanics magazines from the 1930s. A few had covers with planes so I picked them up, $3 each was a great buy. Nowadays the magazine is much thinner and filled more with advertisements. Back then, the advertisement were at the back of the magazine and in their own titled section.
In the 1930s the magazine was packed with 114 pages of articles that included everything from Building Motion Dummies to Pergolas To Beautify Your Garden to this article on Develop Your Films In Daylight. I will transcribe below.
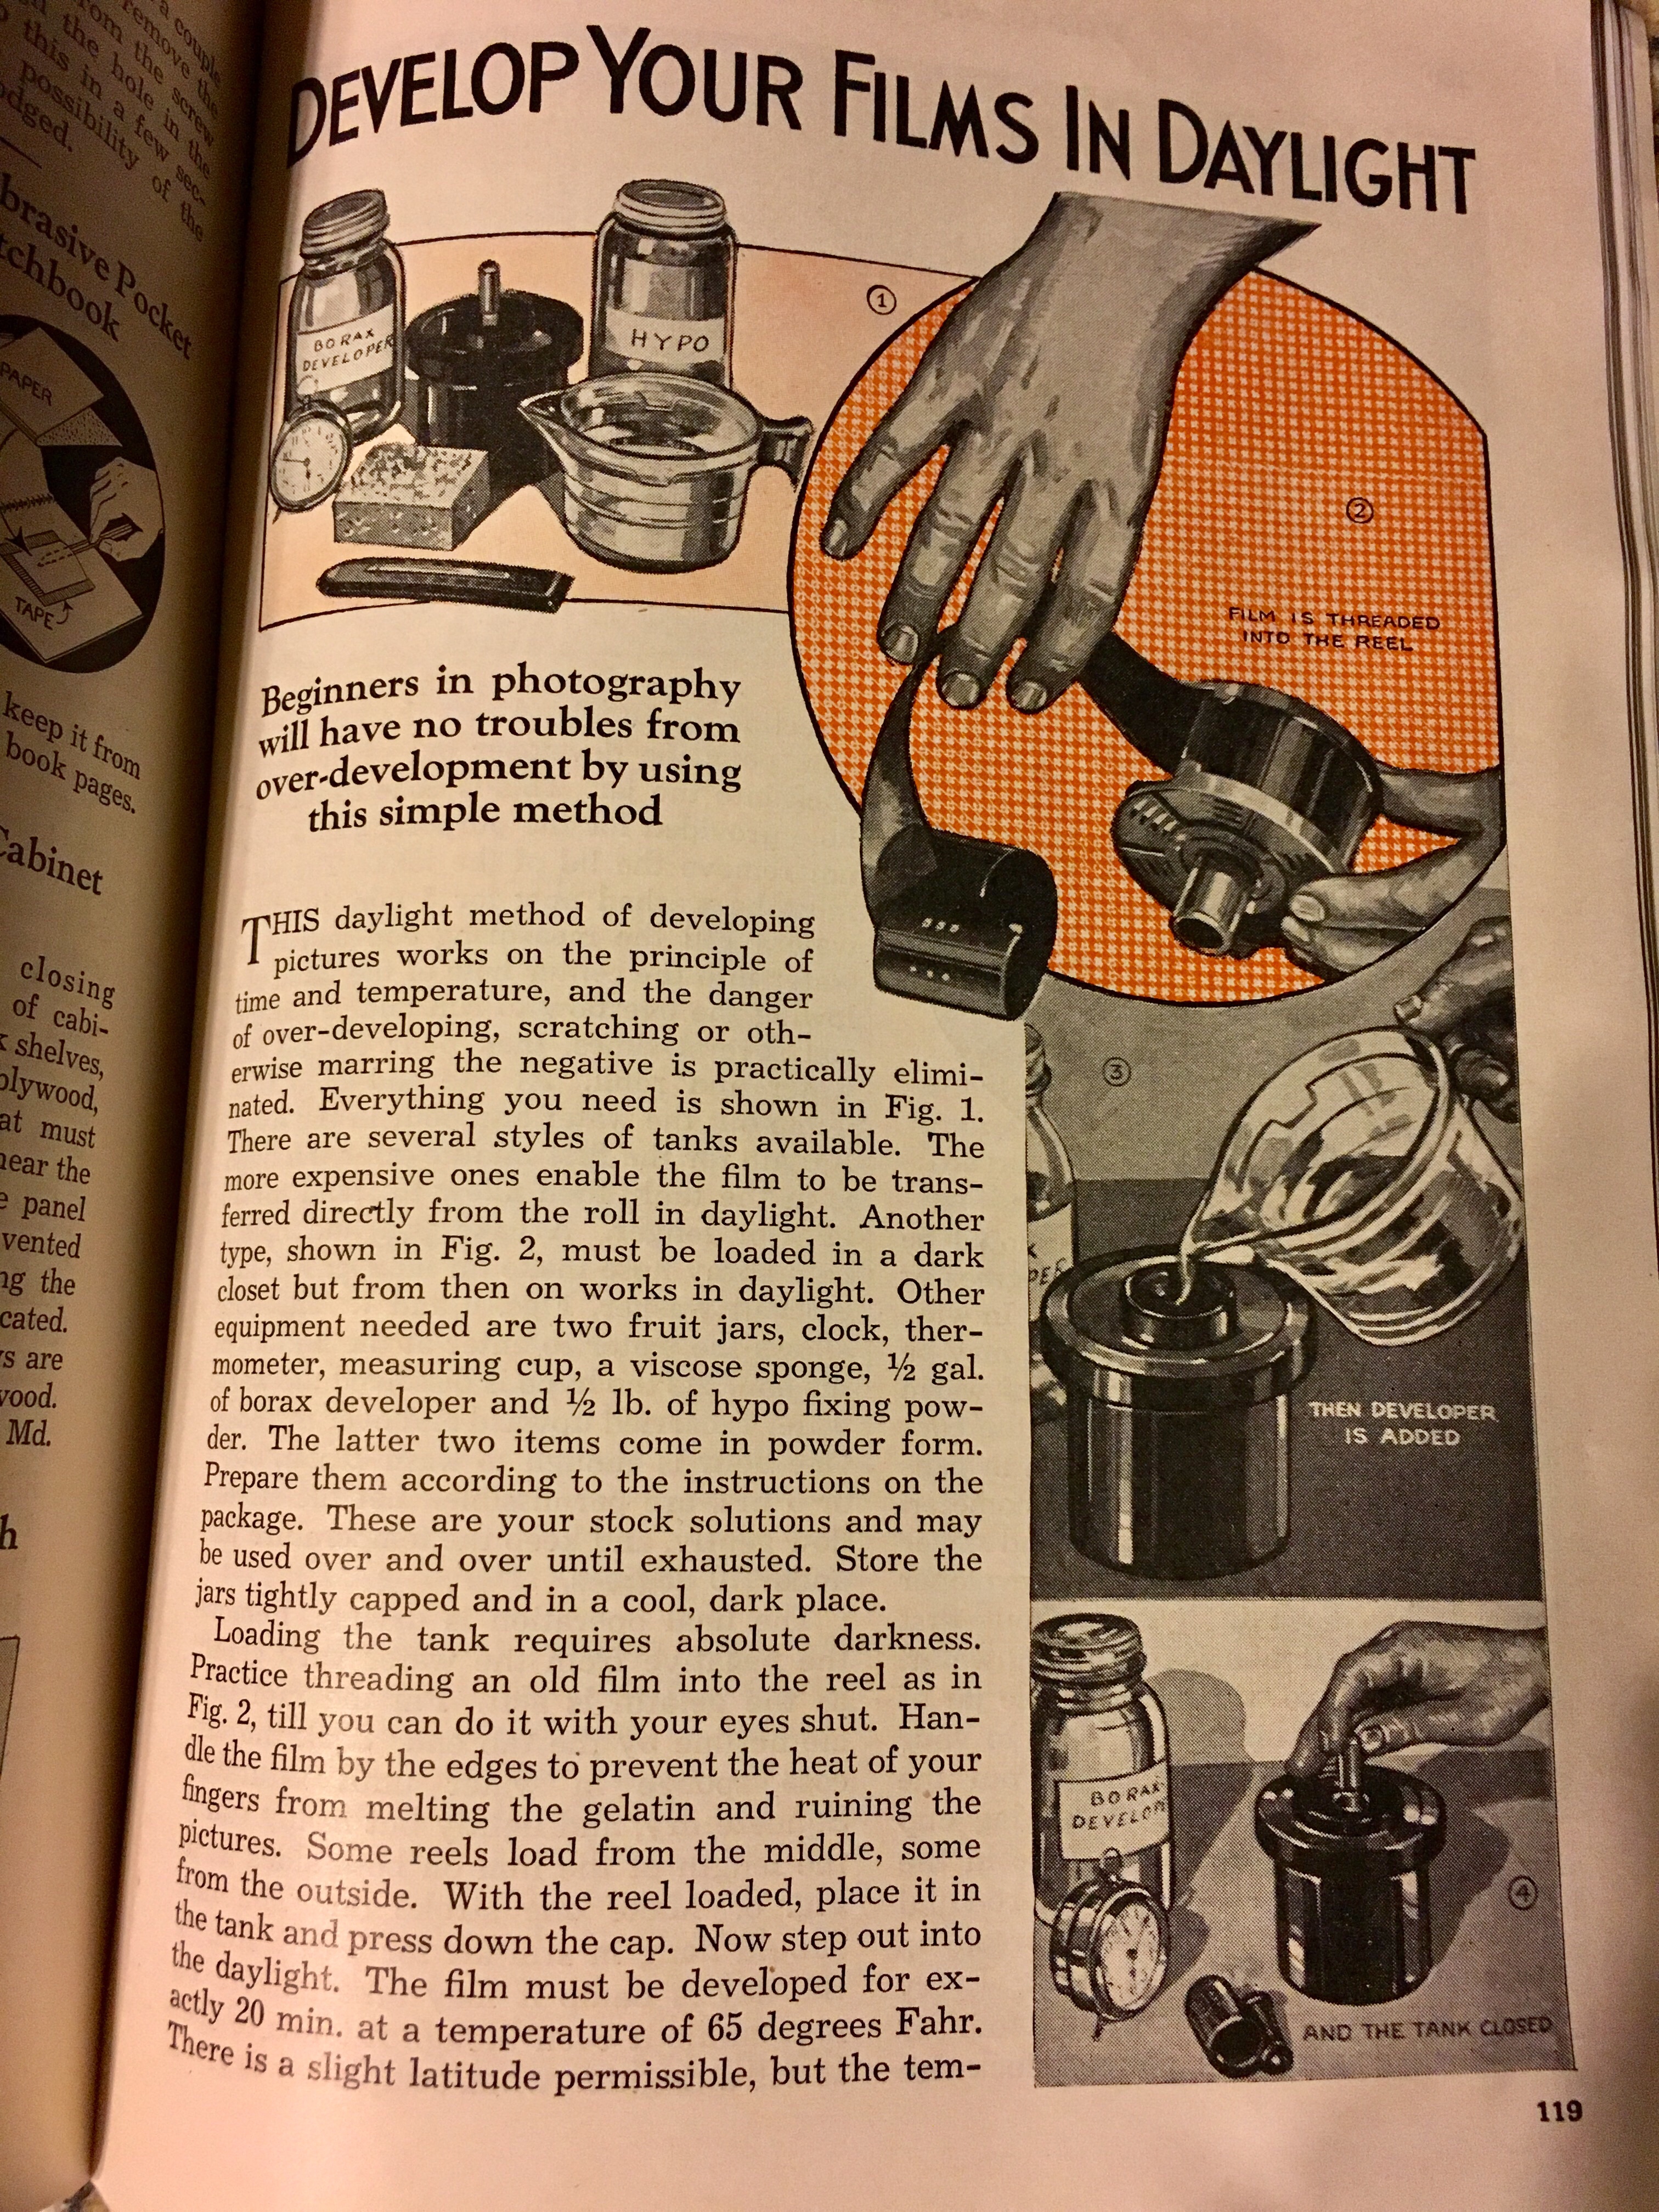
“Develop Your Films In Daylight”
Beginners in photography will have no troubles from over-development by using this simple method.
This daylight method of developing pictures works on the principle of time and temperature, and the danger of over-developing, scratching or otherwise marring the negative is practically eliminated. Everything you need is shown in Fig. 1. There are several styles of tanks available The more expensive ones enable to film to be transferred directly from the roll in daylight. Another type, shown in Fig 2, must be loaded in a dark closet but from then on works in daylight. Other equipment needed are two fruit jars, clock, thermometer, measuring cup, a viscose sponge, 1/2 gal. of borax developer and 1/22 lb. of hypo fixing powder. The latter two items come in powder form. Prepare the according to the instructions on the package. These are your stock solutions and may be used over and over until exhausted. Store the jars tightly capped and in a cool, dark place.
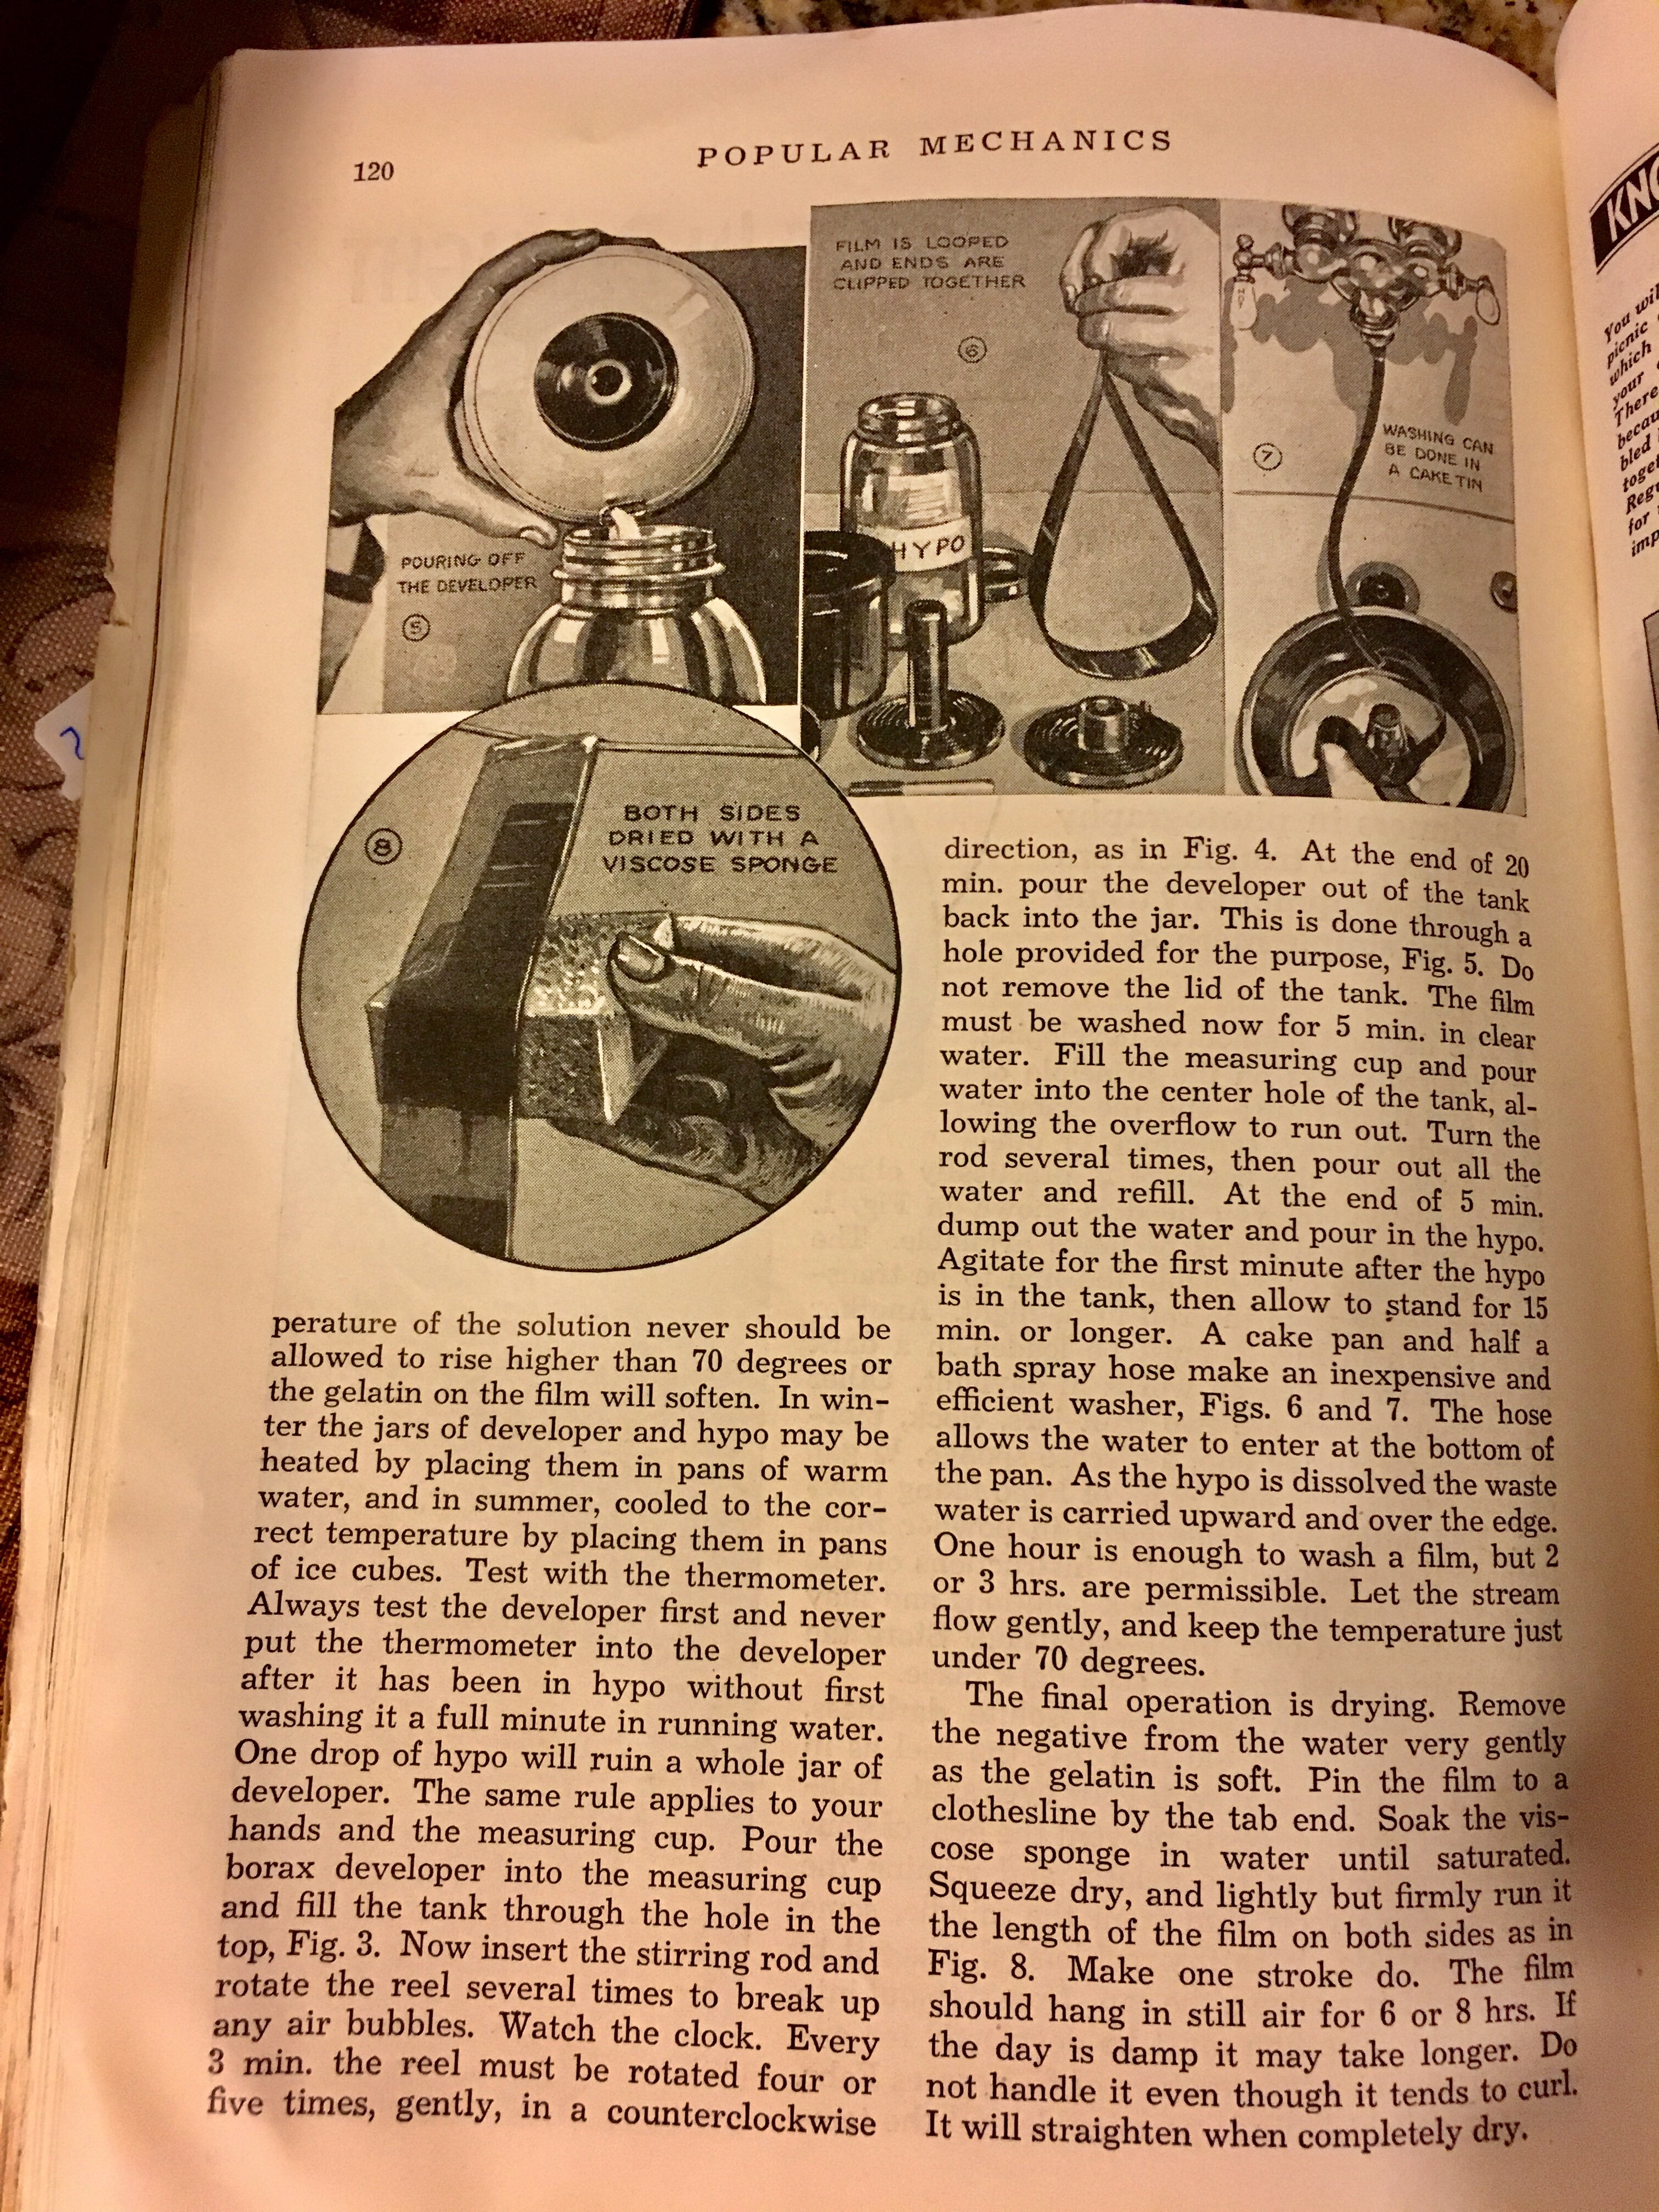
Loading the tank requires absolute darkness. Practice threading an old film into the reel as in Fig. 2, till you can do it with your eyes shut. Handle the film by the edges to prevent the heat of your fingers from melting the gelatin and ruining the pictures. Some reels load from the middle, some from the outside. With the reel loaded place it in the tank and press down the cap. Now step out into the daylight. The film must be developed for exactly 20 min. at a temperature of 65 degrees Fahr. There is a slight latitude permissible, but the temperature of the solution never should be allowed to rise higher than 70 degrees or the gelatin on the film will soften. In winter the jars of developer and hypo may be heated by placing them in pans of warm water, and in summer, cooled to the correct temperature by placing them in pans of ice cubes. Test with the thermometer. Always test the developer first and never put the thermometer into the developer after it has been in the hypo without first washing it a full minute in running water. One drop of hypo will ruin a whole jar of developer. The same rule applies to your hands and the measuring cup. Pour the borax developer into the measuring cup and fill the tank through the hole in the top, Fig. 3. Now insert the stirring rod and rotate the reel several times to break up any air bubbles. Watch the clock. Every 3 min. the reel must be rotated four or five times, gently, in a counterclockwise direction as in Fig. 4. At the end of 20 min. pour the developer out of the tank and back into the jar. This is done through a hole provided for the purpose, Fig. 5. Do not remove the lid of the tank. The film must be washed now for 5 min. in clear water. Fill the measuring cup and pour water into the center hole of the tank, allowing the overflow to run out. Turn the rod several times, then pour out all the water and refill. At the end of 5 min. dump out the water and pour in the hypo. Agitate for the first minute after the hypo is in the tank, then allow to stand for 15 min. or longer. A cake pan and half a bath spray hose make an inexpensive and efficient washer. Figs. 6 and 7. The hose allows the water to enter at the bottom of the pan. As the hypo is dissolved the waste water is carried upward and over the edge. One hour is enough to wash a film but 2 or 3 hrs. are permissible. Let the stream flow gently, and keep the temperature just under 70 degrees.
The final operation is drying. Removed the negative from the water very gently as the gelatin is soft. Pin the film to a clothesline by the tab end. Soak the viscose sponge in water until saturated. Squeeze dry, and lightly but firmly run it the length of the film on both sides as in Fig. 8. make one stroke do. The film should hang in still air for 6 or 8 hrs. If the day is damp it may take longer. Do not handle it even though it tend to curl. It will straighten when completely dry.